The Honeywell Pro 5000 Thermostat is a user-friendly, energy-efficient solution for home climate control, offering programmable scheduling and compatibility with smart home systems like Alexa.
Its sleek design and intuitive interface make it easy to install and operate, providing reliable performance for heating and cooling systems in various home environments.
Designed for simplicity, the thermostat supports both conventional and heat pump wiring configurations, ensuring versatility and ease of setup for different HVAC systems and user needs.
1.1 Key Features and Benefits
The Honeywell Pro 5000 Thermostat offers programmable scheduling, smart home integration, and energy-saving features. Its backlit display and intuitive interface ensure easy operation. Compatible with various HVAC systems, it supports both conventional and heat pump wiring. The thermostat also features battery operation, automatic changeover, and advanced temperature control, making it a versatile and efficient heating and cooling solution for modern homes.
1.2 Importance of Proper Installation
Proper installation of the Honeywell Pro 5000 Thermostat ensures optimal functionality and energy efficiency. Incorrect wiring or setup can lead to issues like malfunctioning heating/cooling systems or display errors. Following the installation manual carefully is essential to avoid common problems and guarantee reliable performance and safety in your home climate control system.
System Requirements and Compatibility
The Honeywell Pro 5000 Thermostat is compatible with most HVAC systems, including conventional and heat pump configurations. It supports dual-fuel systems and requires proper wiring to ensure smooth operation.
2.1 Compatibility with HVAC Systems
The Honeywell Pro 5000 Thermostat is compatible with a wide range of HVAC systems, including conventional forced air, heat pumps, and dual-fuel systems. It supports both heating and cooling configurations, making it versatile for various home setups. Proper wiring configuration is essential to ensure compatibility and optimal performance.
2.2 Wiring Requirements and Color Codes
The Honeywell Pro 5000 Thermostat requires specific wiring connections, typically using a 4-wire setup. The common wire (usually white) powers the thermostat, while the black wire connects to cooling, red to heating, and yellow to the fan. Ensure proper connections based on your HVAC system’s wiring configuration for optimal functionality. Always refer to the system’s manual for specific color codes and requirements.
2.3 Checking Existing Wiring Configuration
Before installation, verify your existing wiring setup. Common configurations include white (heat), black (cool), red (24V), and yellow (fan). Green may also be present for fan control. Label each wire and consult the Honeywell manual or a professional if unsure. Proper identification ensures correct connections and safe operation of the thermostat.
Tools and Materials Needed
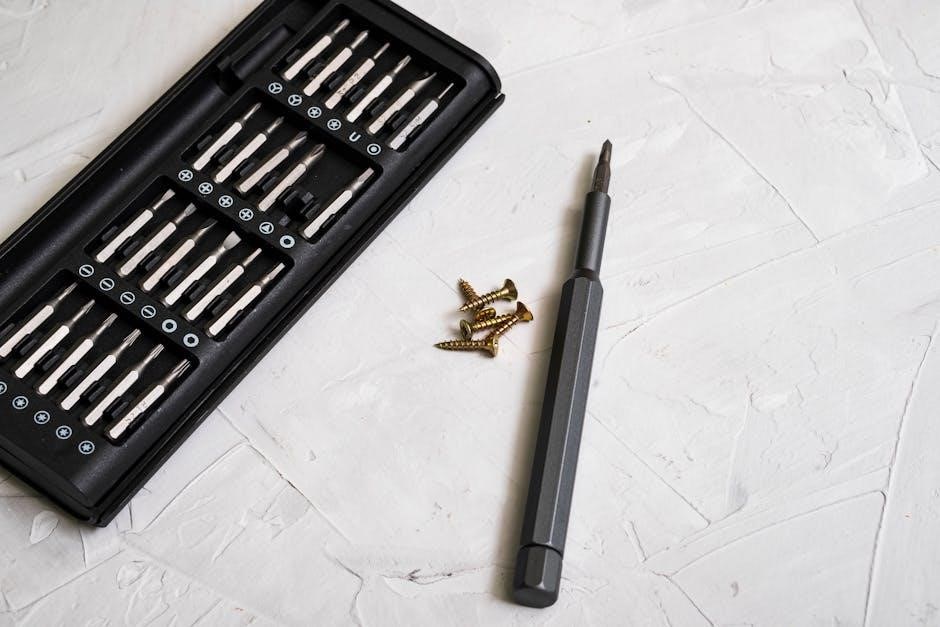
Essential tools include a screwdriver, wire strippers, and pliers. Required materials are wire nuts, mounting screws, and wall anchors. Ensure all items are available before starting installation.
3.1 Essential Tools for Installation
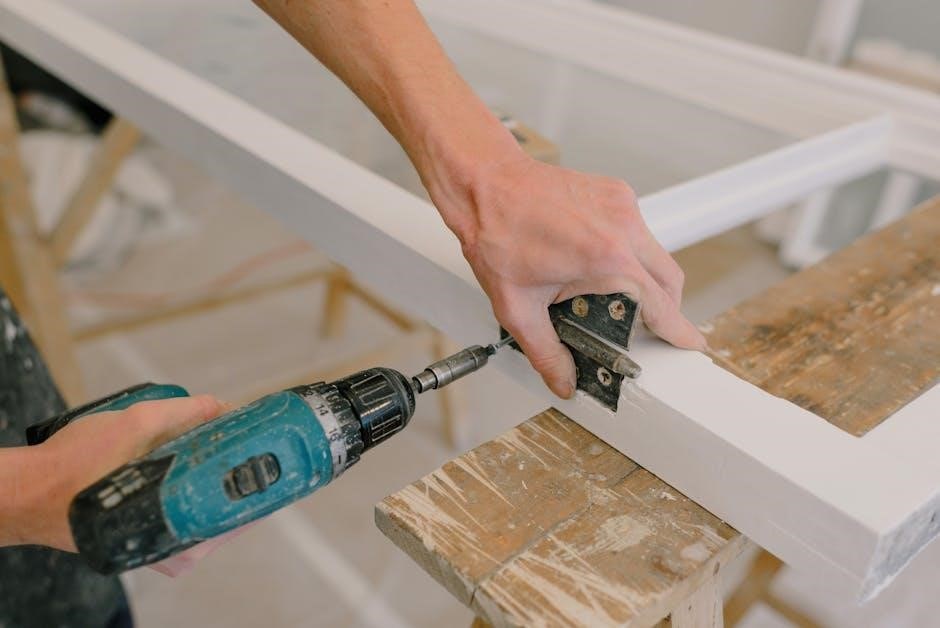
A screwdriver, wire strippers, and pliers are essential for connecting wires. A drill may be needed for wall mounting. Ensure all tools are readily available to streamline the installation process and avoid delays.
3.2 Required Materials and Accessories
Ensure you have the Honeywell Pro 5000 thermostat unit, mounting hardware, and wires. Additional materials like wire connectors, wall anchors, and a battery pack may be needed. Verify all components are included in the packaging or available separately to complete the installation smoothly.
Preparing the Installation Site
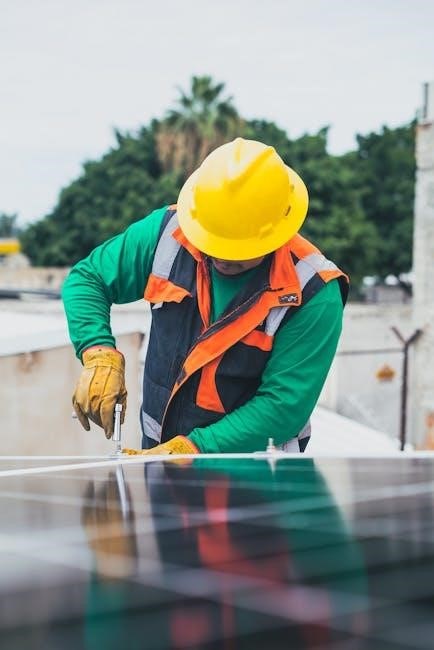
Turn off power to the HVAC system, remove the old thermostat, and prepare the wall for installation. Ensure the area is clear and safe for work.
4.1 Turning Off Power to the HVAC System
Locate the circuit breaker or switch controlling the HVAC system and turn it off. Verify the system is completely powered down before starting installation to ensure safety and prevent electrical hazards.
- Switch off the breaker or remove the fuse.
- Confirm the thermostat and HVAC system are not operational.
- Use a multimeter to check for residual voltage if unsure.
This step is critical to avoid electrical shocks or damage during installation.
4.2 Removing the Old Thermostat
Before removing the old thermostat, ensure the HVAC system is powered off. Gently pull the thermostat away from the wall to access the wiring. Carefully disconnect the wires from their terminals, noting their positions for later reference. Remove any screws or clips securing the old unit to the wall. Finally, set the old thermostat aside and prepare the area for the new installation.
- Disconnect wires one by one, labeling them if necessary.
- Avoid damaging the wires or the wall.
- Remove any additional components, such as batteries or mounting plates.
4.3 Preparing the Wall for Installation
Clean the wall surface thoroughly to ensure proper fit and adhesion. Inspect for any damage or holes, spackling and sanding if necessary. Ensure the wall is dry and free of dust. Use the provided wall template to mark the installation area accurately. Drill pilot holes if required, anchoring with wall plugs for hollow walls. Smooth the surface before mounting.
- Clean the wall thoroughly to prevent dust interference.
- Check for and repair any wall damage.
- Use the template for precise marking.
- Ensure the surface is dry and smooth.
Installation Process
Mounting the Honeywell Pro 5000 involves securing the base plate, connecting wires carefully, and configuring settings. Ensure proper wiring connections and follow installation steps for optimal performance. Integrates seamlessly with smart home systems for enhanced control.
5.1 Mounting the Honeywell Pro 5000 Thermostat
Begin by removing the old thermostat and preparing the wall. Align the base plate with the wall studs for stability and secure it using the provided screws. Ensure the plate is level for proper installation. Connect the wires to the appropriate terminals, matching the color codes for correct functionality. Once mounted, test the display to confirm it powers on and responds to inputs.
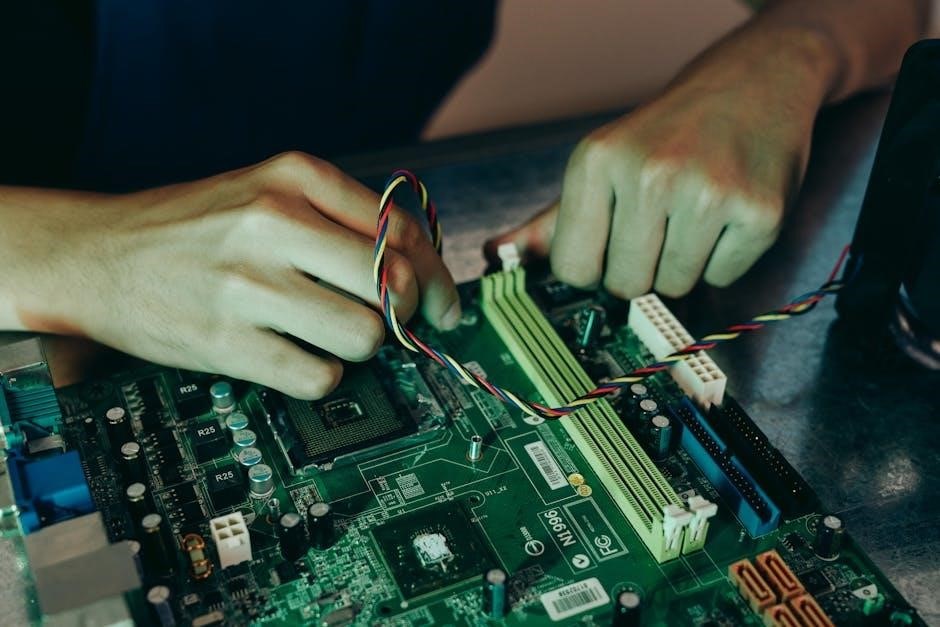
5.2 Connecting Wires to the Thermostat
Identify the wires from your HVAC system and match them to the corresponding terminals on the Honeywell Pro 5000. Typically, black wires connect to R (power), white to W (heat), and yellow to Y (cooling). Secure the wires tightly to ensure proper connections. Refer to the wire color code in your manual for accuracy. Unused wires should be capped with wire nuts to prevent short circuits.
5.3 Configuring Basic Settings
After mounting the thermostat, configure basic settings like time, date, and operating mode (heat, cool, or auto). Set your preferred temperature range and schedule. Program the thermostat to optimize energy use, ensuring comfort and efficiency. Refer to the manual for detailed instructions on customizing settings to match your lifestyle.
5.4 Testing the Thermostat and HVAC System
Turn the power back on and test the thermostat by adjusting temperatures and verifying HVAC system response. Check heating, cooling, and fan modes to ensure proper operation. Monitor the display for errors and confirm system cycles correctly. This step ensures everything works as intended after installation and configuration.
Post-Installation Steps
After installation, program the thermostat with your preferred schedule, integrate it with smart home systems, and perform final checks to ensure smooth operation and energy efficiency.
6.1 Programming the Thermostat
Program the Honeywell Pro 5000 by creating a schedule that adjusts temperatures based on your daily routine. Use the touchscreen to set heating and cooling periods, ensuring energy efficiency. Adjust settings manually or via smart home integration for convenience; Enable energy-saving modes or vacation settings to optimize performance when you’re away.
6.2 Integrating with Smart Home Systems
The Honeywell Pro 5000 thermostat seamlessly integrates with smart home systems like Amazon Alexa, allowing voice control and remote adjustments. Use the Honeywell Home app to connect your thermostat to smart hubs, enabling advanced automation and energy management. Ensure Wi-Fi connectivity for full smart home functionality and enhanced convenience.
6.3 Final Checks and Adjustments
After installation, test all modes (heat, cool, fan) to ensure proper operation. Verify schedule settings and display accuracy. Adjust temperature settings for comfort and efficiency. Check wire connections and system cycling. Ensure the thermostat is level and securely mounted. Review user preferences and finalize any additional configurations for optimal performance and energy savings.
Troubleshooting Common Issues
Identify wiring problems, display malfunctions, or heating/cooling issues. Check connections, configurations, and system compatibility. Refer to the manual for error codes and solutions to resolve common faults efficiently.
7.1 Identifying and Solving Wiring Problems
Ensure connections match your HVAC system type. Check wire colors (e.g., white, black) and terminals. Verify proper installation to avoid issues like no power or incorrect heating/cooling. Use the manual’s wiring guide for precise configuration, and test each connection to confirm functionality before finalizing the setup.
7.2 Addressing Display and Communication Issues
If the display is blank or unresponsive, check power sources and wiring. Ensure proper communication with HVAC systems and smart home devices. Reset the thermostat by removing batteries or cycling power. Update firmware if available. Consult the manual for troubleshooting steps or contact Honeywell support for assistance with persistent issues.
7.3 Diagnosing Heating/Cooling Malfunctions
Check thermostat settings and ensure correct mode is selected. Verify temperature differential and system compatibility. Inspect wiring connections for damage or misconfiguration. If issues persist, review the HVAC system’s operation and consult the Honeywell manual or contact a professional for further diagnosis and resolution of heating or cooling malfunctions.
Maintenance and Upkeep
Regularly clean the thermostat to prevent dust buildup and ensure accurate temperature readings. Replace batteries as needed and check air filters for optimal system performance and efficiency.
8.1 Cleaning and Dusting the Thermostat
Regularly clean the Honeywell Pro 5000 thermostat with a soft, dry cloth to remove dust and debris. Avoid harsh chemicals or liquids, as they may damage the display or internal components. Gently wipe the screen and exterior surfaces to ensure optimal performance and maintain accuracy in temperature readings and system operation.
8.2 Replacing Batteries and Filters
Replace the Honeywell Pro 5000 thermostat batteries annually or when the low-battery indicator appears. Use high-quality AA alkaline batteries for optimal performance. Additionally, check and replace the HVAC system’s air filter every 1-3 months to ensure efficient airflow, improved indoor air quality, and consistent heating and cooling performance throughout your home.
8.3 Regular System Maintenance Tips
Regularly clean the thermostat display and sensors to ensure accuracy. Check wiring connections for tightness and damage. Inspect the HVAC system’s ductwork for leaks and damage. Schedule professional maintenance annually to optimize performance. Replace air filters as recommended to maintain airflow and efficiency. Monitor system performance and address issues promptly to avoid breakdowns.
Safety Considerations
Always turn off power to the HVAC system before installation or maintenance. Ensure proper wiring and connections to avoid electrical hazards. Follow emergency shutdown procedures if issues arise.
9.1 Electrical Safety Precautions
Always disconnect the HVAC system’s power before starting installation or maintenance. Use a voltage tester to ensure no electricity flows through the wires. Never touch electrical components without proper insulation. Keep metal objects away from live wires to prevent short circuits. Ensure all connections are secure to avoid sparks or fires. Follow safety guidelines meticulously to protect yourself and the system.
9.2 Proper Wiring and Connections
Ensure all wires are securely connected to the correct terminals on the Honeywell Pro 5000 thermostat. Match the wire colors to the appropriate terminals (e.g., white to heat, black to cool). Avoid crossed or loose wires, as this can cause system malfunctions. Double-check connections before restoring power to prevent electrical issues or damage.
9.3 Emergency Shutdown Procedures
In case of an emergency, immediately turn off the HVAC system via the Honeywell Pro 5000 thermostat. Switch the thermostat to “OFF” mode and locate the circuit breaker or emergency shutoff valve for your system. Ensure all household members know where these controls are located for quick access during emergencies.

Warranty and Support Information
The Honeywell Pro 5000 Thermostat typically comes with a 5-year limited warranty. For support, visit Honeywell’s official website or contact their customer service team for assistance with installation or troubleshooting.
10.1 Understanding the Manufacturer’s Warranty
The Honeywell Pro 5000 Thermostat is backed by a 5-year limited warranty, covering defects in materials and workmanship. The warranty applies to the original purchaser and requires proper installation. Damages from improper installation or tampering are not covered. For full details, refer to the official Honeywell website or contact customer support.
10.2 Contacting Customer Support
For assistance with the Honeywell Pro 5000 Thermostat, customers can reach out to Honeywell’s customer support team via phone, email, or live chat through their official website. Representatives are available to address installation, troubleshooting, and warranty-related inquiries, ensuring prompt and effective solutions for all user needs and concerns.
10.3 Finding Authorized Service Centers
To locate an authorized Honeywell service center, visit their official website and use the “Where to Buy” tool. Enter your location to find nearby certified technicians who can provide professional installation, repairs, and maintenance for your Honeywell Pro 5000 Thermostat, ensuring genuine parts and expert service are guaranteed for optimal performance and warranty compliance.
Additional Resources
For further assistance, access the official Honeywell website to download the user manual or explore video tutorials. Join Honeywell user forums for community support and troubleshooting tips from experienced users and professionals.
11.1 Accessing the Official User Manual
Visit the Honeywell website to download the Pro 5000 thermostat manual. Search for your model number, and access the PDF guide for detailed installation, programming, and troubleshooting instructions. The manual provides step-by-step guidance, wiring diagrams, and operational tips to ensure smooth setup and optimal performance of your thermostat.
11.2 Watching Installation Video Tutorials
YouTube and Honeywell’s official channels offer detailed video tutorials for Pro 5000 installation. These guides provide visual step-by-step instructions, covering wiring, mounting, and configuration. Watching these videos can help users understand complex steps and ensure a successful DIY installation without professional assistance, saving time and potential costs.
11.3 Joining Honeywell User Forums
Honeywell user forums are excellent resources for troubleshooting and installation tips. Users share experiences, solutions, and advice, fostering a supportive community. Active participation can help resolve specific issues and provide insights from experienced installers, enhancing your understanding of the Pro 5000 thermostat and improving installation outcomes effectively.
Final Tips and Best Practices
Optimize settings for energy efficiency, schedule regular maintenance, and avoid common installation mistakes. Ensure proper wiring and configuration for reliable performance and longevity of the Honeywell Pro 5000 thermostat.
12.1 Optimizing Thermostat Settings
Program a schedule to align with your daily routine, adjusting temperature setpoints for energy efficiency. Use smart features like geofencing and voice control through Alexa for enhanced convenience. Regularly review and update settings to ensure optimal performance and comfort, while reducing energy consumption during periods of inactivity or when away from home.

and Next Steps
12.2 Seasonal Maintenance Tips
- Clean the thermostat regularly to ensure accurate temperature readings and prevent dust buildup.
- Replace batteries annually or as indicated by the thermostat to avoid unexpected shutdowns.
- Check and replace HVAC air filters seasonally to maintain optimal system performance and efficiency.
- Inspect wiring connections before heating and cooling seasons to ensure reliability.