GE Electric Self Cleaning Oven Manual: An Overview
This manual provides comprehensive guidance for JBP24, JBP26, JBP30, and JBP35 ranges, specifically self-cleaning electric models. It details safety information, operating instructions, and care procedures.
Key sections cover anti-tip device installation, general safety precautions, and detailed instructions for oven and surface unit operation. The manual also explains advanced features like the Sabbath mode and thermostat.
A dedicated section thoroughly guides users through the self-cleaning cycle, from preparation to post-cleaning procedures, ensuring optimal oven maintenance and longevity.
Understanding Your GE Oven Model
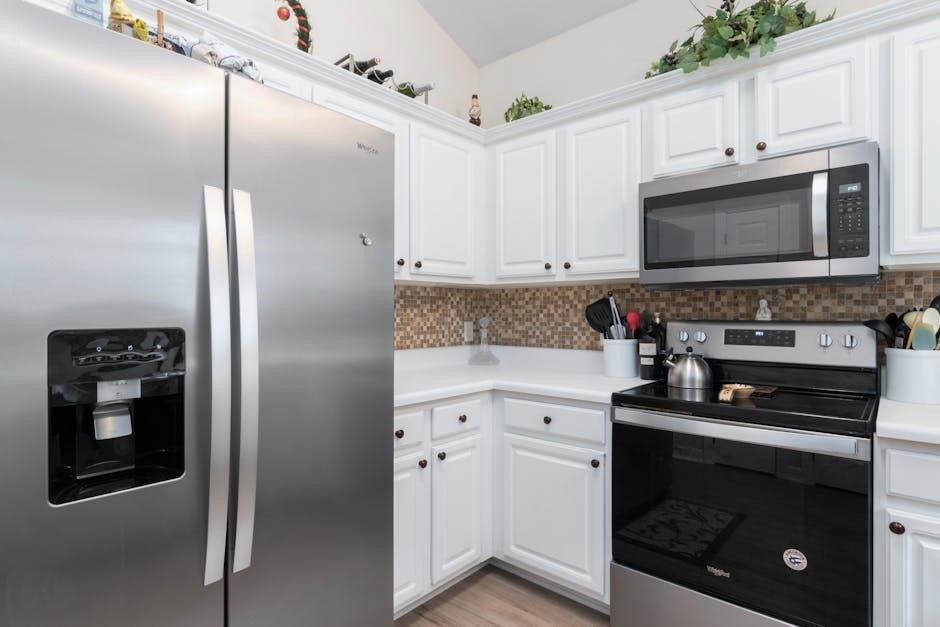
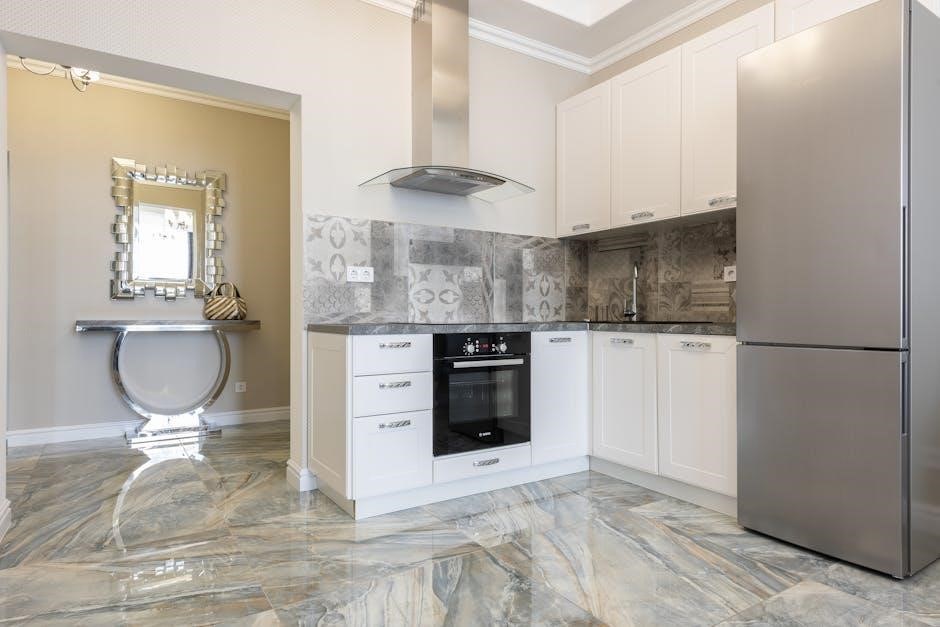
Your GE self-cleaning electric range, encompassing models JBP24, JBP26, JBP30, and JBP35, is a sophisticated appliance designed for efficient and convenient cooking. Familiarizing yourself with its specific features is crucial for optimal performance and safety.
This oven incorporates both standard baking and roasting capabilities alongside a powerful self-cleaning cycle, simplifying maintenance. The surface cooking units offer variable heat settings for diverse culinary needs. Understanding the control panel layout, including the clock, timer, and function selectors, is paramount.
Refer to the model number (found on the appliance’s rating plate) when locating specific information within this manual or when contacting GE Appliances customer support. The manual details the anti-tip device, essential for stability, and outlines crucial safety precautions for both oven and surface unit usage. Proper operation ensures years of reliable service.
Locating the Manual (Model Number Specific)
Accessing the correct manual for your GE electric self-cleaning oven – models JBP24, JBP26, JBP30, or JBP35 – is vital for safe and effective operation. The most reliable method is to utilize your oven’s specific model number, typically found on the appliance’s rating plate.
This plate is usually located on the frame of the oven door, or on the back of the appliance. Once you have the model number (e.g., a number starting with 164D4290P007 or 49-80038), you can easily find the corresponding manual online at the GE Appliances website (www.geappliances.com).
Search using the model number to download a PDF version of the manual. This ensures you have the documentation tailored to your exact oven configuration, including detailed safety information, operating instructions, and troubleshooting tips. Keeping this manual readily available is highly recommended.
Safety First: Important Precautions
Prioritize safety by carefully reviewing the precautions regarding the anti-tip device, oven usage, and surface cooking units. Always follow these guidelines!
Anti-Tip Device Installation & Verification
Ensuring your range’s stability is paramount for safety; therefore, proper anti-tip device installation is crucial. This device prevents accidental tipping, protecting against potential injuries and damage.
Carefully follow the installation instructions included with your range. Typically, this involves attaching a bracket to the wall and securing the range to it with a screw. Verify the installation by firmly, but gently, attempting to tilt the range forward.
It should not move. Regularly check the device to ensure it remains securely fastened. Never operate the range without a properly installed anti-tip device. Failure to do so could result in serious hazards, especially for households with children. Refer to page 3 of the manual (49-80038) for detailed instructions and illustrations.
General Safety Precautions for Oven Use
Prioritize safety when operating your GE electric oven. Never use the oven for purposes other than cooking. Avoid storing flammable materials within the oven, as they could ignite and cause a fire. Always use oven mitts or pot holders when handling hot cookware.
Supervise children closely when the oven is in use. Do not allow them to touch the oven’s exterior, as it becomes very hot during operation. Ensure proper ventilation during cooking, especially when using the self-cleaning cycle. Refer to pages 3 and 4 of manual 49-80038 for comprehensive safety guidelines.
Never line the oven floor with aluminum foil or other materials, as this can trap heat and damage the oven. Be cautious when opening the oven door, as hot steam may escape. Regularly inspect the oven door seal for damage.
Safety Precautions for Surface Cooking Units
Exercise caution when using the surface cooking units on your GE electric range. Never leave cooking unattended, and always turn off burners when finished. Avoid placing flammable objects near the cooktop, such as curtains or paper towels. Use cookware with flat, stable bottoms for optimal heat transfer and safety.
Ensure the burners are cool before cleaning them. Do not use abrasive cleaners, as they can damage the cooktop surface. Be mindful of hot surfaces; the cooktop remains hot even after burners are turned off. Consult pages 5 of manual 49-80038 for detailed safety instructions.
Never attempt to repair the surface cooking units yourself; contact a qualified technician for assistance. Keep the cooktop clean to prevent grease buildup and potential fire hazards. Always use properly fitting lids on cookware to prevent spills and splatters.
Operating Instructions: Getting Started
Familiarize yourself with setting the clock and timer (page 11), utilizing surface units (page 7), and basic oven operation for baking and roasting (pages 8-10).
Setting the Clock and Timer
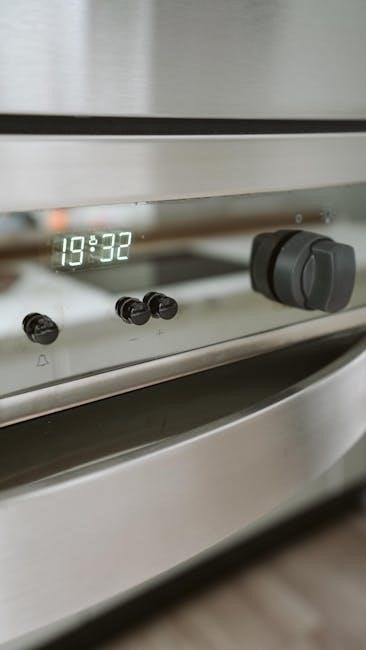
Accurate timekeeping is crucial for precise cooking and utilizing the oven’s timed features. Refer to page 11 of the manual for detailed instructions on setting the clock. The process typically involves pressing designated clock or time set buttons, followed by adjusting the hours and minutes using the number pads.
The timer function operates independently of the oven’s cooking functions. It can be used to remind you of cooking times or for other household tasks. To set the timer, press the timer button, enter the desired time using the number pads, and press the start or timer button to activate it.
The manual likely details how to both set and clear the timer. Understanding these functions ensures you can effectively manage your cooking schedule and avoid overcooking or burning your food. Proper clock and timer operation is fundamental to successful oven use.
Using the Surface Cooking Units
The GE electric range features surface cooking units for versatile stovetop cooking. Page 7 of the manual provides detailed instructions on their operation. These units vary in size and power, allowing for different cooking needs – from simmering delicate sauces to rapidly boiling water.
To use a surface unit, simply turn the control knob to the desired heat setting. Settings typically range from low to high, indicated by numbers or words. The manual likely explains the appropriate settings for various cooking tasks. Always ensure cookware is compatible with electric cooktops – flat bottoms are essential for efficient heat transfer.
Remember to exercise caution as the surface units become hot during and after use. Avoid touching them until they have cooled completely. Proper usage ensures safe and effective stovetop cooking.
Oven Operation: Basic Baking & Roasting
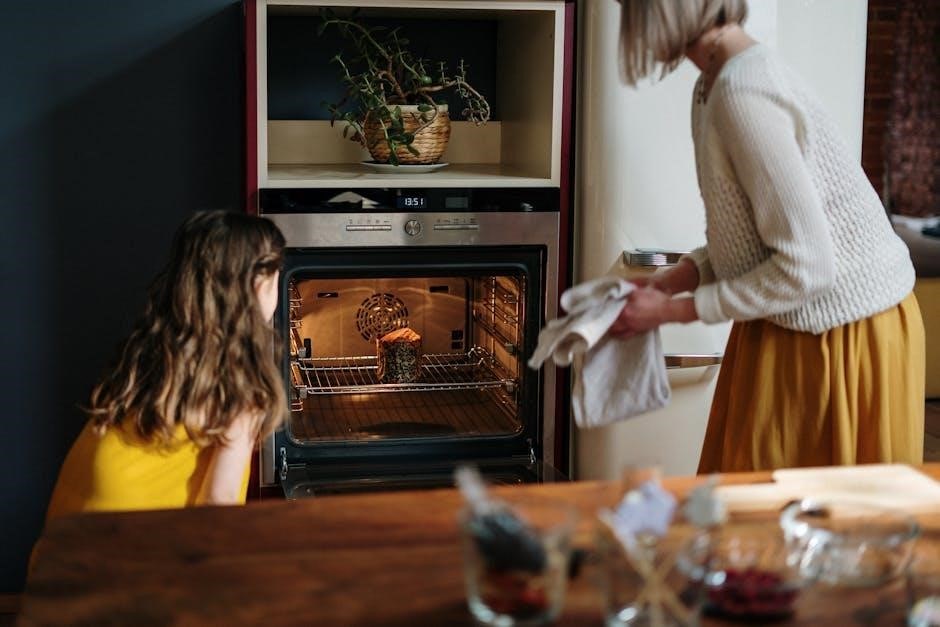
The GE electric oven offers straightforward operation for both baking and roasting, as detailed on pages 8-10 of the manual. To begin, set the desired temperature using the oven control knob or digital interface. Ensure the oven is preheated to the correct temperature before placing food inside for optimal results.
For baking, select the “Bake” function. For roasting, choose the “Roast” setting, which typically operates at higher temperatures. The manual likely provides recommended temperatures and cooking times for various foods. Proper rack placement is also crucial for even cooking.
Always use oven-safe cookware and avoid overcrowding the oven cavity. Monitor the cooking process and adjust temperature or time as needed. Safe handling of hot dishes is essential.
Timed Baking and Roasting Features Explained
The GE electric oven manual details convenient timed baking and roasting features, enhancing cooking flexibility. These features, found on page 12, allow you to set a specific cooking duration, after which the oven will automatically turn off. This prevents overcooking and offers peace of mind.
The “Timed Bake” function is ideal for recipes with precise cooking times. Simply set the desired baking time, and the oven will operate for that duration. Similarly, “Timed Roast” allows for automated roasting. Some models may offer a “Delay Start” option, enabling you to schedule cooking to begin at a later time.
Carefully review the manual’s instructions for programming these features correctly. Ensure the timer is accurately set to avoid unexpected results. These features streamline meal preparation and provide consistent cooking outcomes.
Advanced Oven Features
This GE oven manual highlights the oven thermostat and the Sabbath feature for specialized cooking needs. Understanding these functions enhances your cooking experience.
These advanced settings provide greater control and cater to specific dietary or religious requirements.
Understanding the Oven Thermostat
The oven thermostat is a crucial component for accurate temperature control during baking and roasting. While GE ovens are designed for consistent heating, understanding the thermostat’s function allows for optimal results.
The thermostat maintains the set temperature by cycling the heating elements on and off. Slight temperature variations are normal due to this cycling process, and are within the oven’s operational parameters.
If you suspect the thermostat is malfunctioning – indicated by significant temperature discrepancies or uneven cooking – it’s essential to consult a qualified service technician. Do not attempt to repair it yourself.
Regular calibration is not typically required for GE oven thermostats. However, consistently inaccurate temperatures may indicate a need for professional assessment and potential replacement of the thermostat component, ensuring precise and reliable cooking performance.
Always refer to the complete manual for detailed troubleshooting steps and safety guidelines.
Utilizing the Sabbath Feature
The Sabbath Feature is designed to comply with Jewish Sabbath observance guidelines, allowing for extended cooking periods without interruption from typical oven functions. This mode disables several features, ensuring adherence to religious practices.
When activated, the Sabbath Feature keeps the oven on for an extended duration, preventing automatic shut-off. It also disables features like the interior oven light and audible signals.
To activate, consult your specific model’s manual for the precise sequence, as it may vary. Typically, it involves pressing and holding specific buttons on the control panel.
Remember to carefully monitor cooking times when using the Sabbath Feature, as the oven will not automatically turn off. Always prioritize safety and ensure proper ventilation during extended cooking periods.
Refer to the manual for detailed instructions and safety precautions related to the Sabbath Feature.

Self-Cleaning Cycle: A Detailed Guide
This section provides a comprehensive walkthrough of the self-cleaning process, covering preparation steps, initiating the cycle, monitoring its progress, and post-cleaning procedures.
Preparing for the Self-Cleaning Cycle
Before initiating the self-cleaning cycle, several crucial preparatory steps must be completed to ensure both safety and optimal cleaning performance. First, remove the broiler pan, baking stones, and any aluminum foil from the oven cavity, as these items cannot withstand the high temperatures.
Manually remove any large food debris or grease splatters from the oven floor; while the self-cleaning cycle handles most residue, excessive buildup can create smoke and odors. Ensure the oven door is fully closed and latched throughout the entire process.
Ventilate the kitchen adequately by opening windows or using a range hood, as the self-cleaning cycle can produce odors. Do not use oven cleaners in conjunction with the self-cleaning feature. Finally, ensure no items are stored in the oven during the cycle.
Initiating and Monitoring the Self-Cleaning Process
To begin the self-cleaning cycle, press the “Self-Clean” button on the control panel. You may be prompted to select a cleaning duration – typically ranging from 2 to 4 hours – based on the oven’s soil level. The oven door will automatically lock once the cycle commences, and remain locked throughout the process for safety.
Avoid opening the oven door during the self-cleaning cycle, as extremely high temperatures are present. Monitor the cycle’s progress; some models display remaining time. A burning smell is normal, but if excessive smoke occurs, immediately press the “Off” or “Cancel” button.
Do not attempt to manually intervene during the cycle. The oven will automatically unlock once the cycle is complete and the oven has cooled sufficiently.
Post-Self-Cleaning Cycle Procedures
Once the self-cleaning cycle concludes, the oven door will unlock automatically after it has cooled down. Allow sufficient time for complete cooling before proceeding. A white, powdery residue may be visible inside the oven – this is normal and can be easily wiped away with a damp cloth.
Ventilate the kitchen by opening windows or using a range hood to dissipate any lingering odors. Inspect the oven interior for any remaining debris and remove it. Avoid using abrasive cleaners, as they can damage the oven’s surface.
Restore oven racks and accessories to their original positions. Ensure the oven is completely cool before using it for cooking.
Care and Cleaning: Maintaining Your Oven
Regular care ensures optimal performance. This section details cleaning the broiler pan, routine oven maintenance, and proper procedures for the door and exterior surfaces.
Cleaning the Broiler Pan
The broiler pan requires regular cleaning to prevent grease buildup and ensure efficient operation. After each use, allow the pan to cool completely before handling. Remove any large pieces of food debris.
For routine cleaning, the broiler pan and its insert can be washed in hot, soapy water. A non-abrasive cleaning pad is recommended to avoid scratching the surface. Alternatively, the broiler pan can be cleaned in a dishwasher, though some discoloration may occur over time.
For heavily soiled pans, soaking in a solution of hot water and dish soap overnight can help loosen stubborn residue. Avoid using harsh chemicals or abrasive cleaners, as these can damage the pan’s finish. Thoroughly rinse and dry the pan before storing.
Proper cleaning extends the life of your broiler pan and maintains optimal cooking performance.
Routine Oven Cleaning (Non-Self-Clean)
For ovens not utilizing the self-cleaning feature, regular manual cleaning is essential for maintaining performance and hygiene. Begin by removing oven racks, broiler pan, and any other accessories. These can be cleaned separately with hot, soapy water.
Apply a commercially available oven cleaner, following the manufacturer’s instructions carefully. Ensure adequate ventilation during application and wear gloves for protection. Alternatively, a paste of baking soda and water can be used as a natural cleaning agent.
Allow the cleaner to sit for the recommended time, then wipe the interior surfaces thoroughly with a damp cloth. Rinse multiple times to remove all traces of cleaner. Pay attention to stubborn stains and grease buildup.
Regular routine cleaning prevents excessive buildup and makes future cleaning easier.
Cleaning the Oven Door and Exterior
Maintaining a clean oven door and exterior enhances the appliance’s appearance and prevents grime buildup. For the exterior, use a mild dish soap and warm water solution applied with a soft cloth. Avoid abrasive cleaners, which can scratch the surface;
Wipe down the control panel and surrounding areas with the same solution, ensuring no liquid enters the control openings. Dry thoroughly with a clean cloth to prevent streaks.
The oven door, including the glass, can be cleaned similarly. For stubborn stains on the glass, a specialized glass cleaner may be used, following the product’s instructions.
Regularly wiping the door and exterior prevents the accumulation of grease and food splatters, simplifying future cleaning efforts.
Troubleshooting Common Issues
This section addresses frequent problems like oven failure to heat, self-cleaning cycle malfunctions, and clock/timer inaccuracies. Solutions are provided for optimal performance.
Oven Not Heating
If your GE electric oven isn’t heating, first verify the power supply and ensure the circuit breaker hasn’t tripped. Check that the oven door is completely closed, as a safety interlock prevents operation when ajar.
Next, confirm the control is set to a baking or roasting function, not a timer-only setting. If using a timed bake, ensure the start time hasn’t passed or the timer isn’t paused.
Inspect the bake element for any visible breaks or damage; a faulty element will require replacement. A malfunctioning oven temperature sensor can also cause this issue, necessitating testing and potential replacement.
If the problem persists, consult a qualified appliance technician for diagnosis and repair, as internal electrical components may be at fault. Do not attempt repairs yourself if unfamiliar with electrical systems.
Self-Cleaning Cycle Problems
If the self-cleaning cycle fails to start, ensure the oven door is fully locked. The lock mechanism must engage for the high-temperature cycle to initiate. Also, verify that no large spills or excessive debris remain inside the oven, as these can hinder the process.
If the cycle stops prematurely, a power interruption might be the cause. Check the circuit breaker. Smoke during the cycle is normal, but excessive smoke could indicate food residue; consider a shorter cycle next time.
A locked door that won’t unlock after the cycle is complete suggests a faulty door lock assembly, requiring professional attention. Never force the door open.
If error codes appear, consult the manual for specific meanings and troubleshooting steps. Always allow the oven to cool completely before attempting any maintenance.
Clock and Timer Malfunctions
If the clock display is blank or flashing, a power outage or interruption is the most likely cause. Resetting the clock is usually the first step to restore functionality; refer to the ‘Setting the Clock and Timer’ section for instructions.
If the timer isn’t counting down correctly, ensure it’s set to the correct mode (bake or cook time). Incorrect settings can lead to inaccurate timing. Verify that the ‘Delay Start’ feature isn’t accidentally activated.
If the clock consistently loses time, a faulty electronic control board might be the issue, requiring professional repair. Avoid repeatedly resetting the clock as this won’t fix an underlying hardware problem.
For unresponsive buttons, check for debris or moisture interfering with the control panel. Gently clean the surface before attempting further operation.